I had described how to enable single-sign-on based on OpenSSL for Windows on a Web AS ABAP sandbox system and this information is still valid. However, both the NWAS ABAP as well as the OpenSSL tools have evolved considerably since 2012 so that I will describe an updated approach for Fiori single-sign-on in this blog series. I will start with explaining how to setup a sucure SSL connection to the Fiori Launchpad based on OpenSSL certificates.
Again, this blog is intended for you to learn and understand the concepts. Neither key lengths nor other security considerations except for making this example work have been considered.
To start with, the SAP NWAS ABAP does require less parameter settings nowadays to enable SSL which is the basis for certificate based SSO.
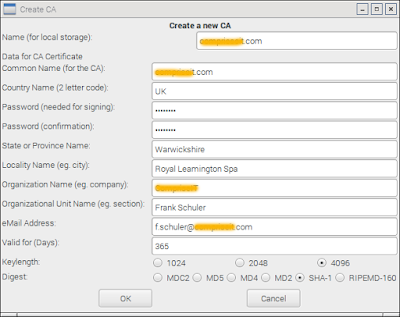
To start with, I setup an OpenSSL certificate authority (CA) with TinyCA2 (TinyCA). For this blog I am using OpenSSL 1.0.1t but the latest stable version is the 1.0.2 series of releases. This is also the Long Term Support (LTS) version (support will be provided until 31st December 2019). The 1.0.1 version is currently only receiving security bug fixes and all support will be discontinued for this version on 31st December 2016.
Setting up a CA in TinyCA is pretty straight forward:
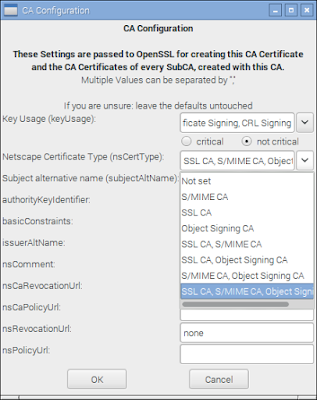
For the CA Configuration I keep the defaults except for the nsCertType where I chose the all-in option:
As a result, my CA got created:
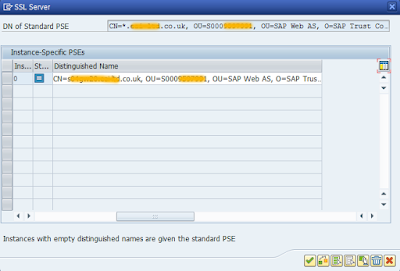
So I log into my SAP Fiori Frontend system, call transaction STRUST and create a SSL server Standard PSE:
I confirm the Distinguished Name that has to match my Fiori Frontend server fully qualified host name (FQHN):
Next I create a Certificate Request for my just created PSE which is currently marked as self-signed:
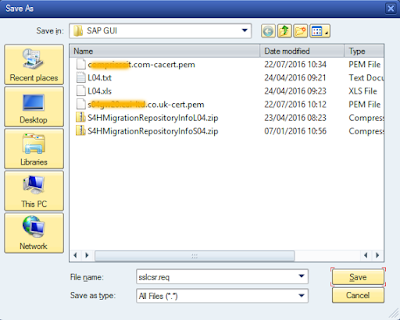
And chose to Save as local file:
To the default destination:
I then transfer this file to my Rasperry Pi that I had already setup for Connect a Lego Mindstorms NXT to the HCP Internet of Things Services via a Raspberry Pi over Bluetooth and where I now also run TinyCA to import it as a certificate Request:
As a result, I see all the details I had put in previously:
So I sign the request with my previously created CA:
And subsequently get a success message, that the Request was signed successfully and a corresponding Certificate created:
Next I export the certificate:
And then the CA certificate as well:
Next I create a Certificate Database entry for my CA in transaction STRUST:
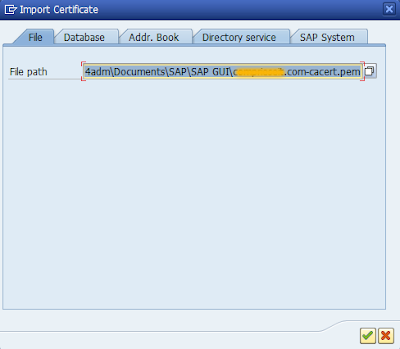
Then I import my CA certificate:
And export it:
to the just created Certificate Database entry:
With that I can import my Certificate Response:
And as a result got a trusted certificate:
The only remaining task is to import my CA certificate into the web browser that I am using to access my Fiori Launchpad:
And with this I got a secure connection to my Fiori Launchpad:
With my CA hierarchy details:
Source: scn.sap.com
